This post will show you how to make a free website on Blogger without having to pay for a domain or hosting. Blogspot is a free website-building and-hosting platform owned by Google, so you don't have to worry about server downtime or other concerns. Furthermore, there are dozens of free blogger themes that you may utilize to give your website a professional appearance. Let's begin with a step-by-step tutorial for making a free website.
Step 1: Go to Blogger and sign in.
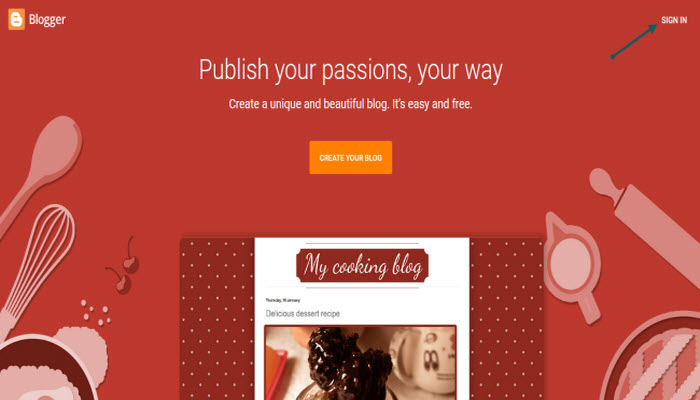
Sign in using your gmail id and password at https://www.blogger.com; if you don't have an account, you may establish one for free by clicking the "sign in" button in the top right corner, as shown in the screenshot below. Blogger is owned by Google, which is why you'll need a gmail account to create a blog on the platform.
Step 2: Create Blog
Step 4: Choose a URL for your blog
In the address field, type the blog's URL. It will be verified to see if it is available, and if it is, it will be used and press save.
Step 5 : How to Change A Theme on blogger ?
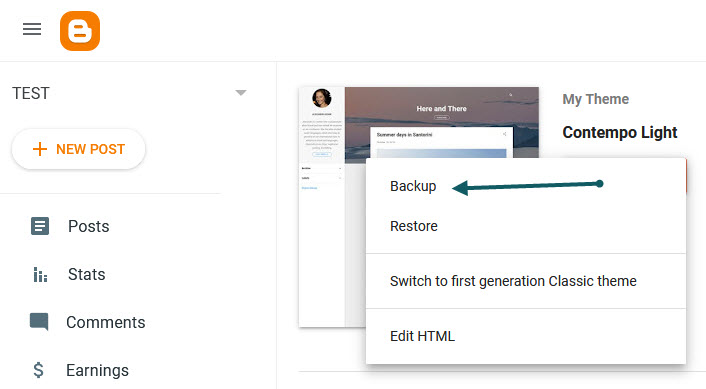
Click on Theme, as I did below , The default theme is Contempo Light, as you can see. At any time, you can change the Blogger theme. Simply scroll down and choose one of your choice.
For a gorgeous appearance and adjustments, you may also utilize free premium themes for your blogspot site. Here's how to install a blogger theme according to our instructions.
Step 6: Upload A Logo on Blogspot Blog
1. Click on the Layout menu item on the left aspect.
2. In the Header segment, click on on the edit pencil.
To submit a logo to your blog, you may either select a file from your computer or type an image URL. You also have three logo placement possibilities; choose the best one for you. If the logo is larger than the header, you can also select Shrink to Fit. and save it to make changes.
Step 7 : Add A Gadget
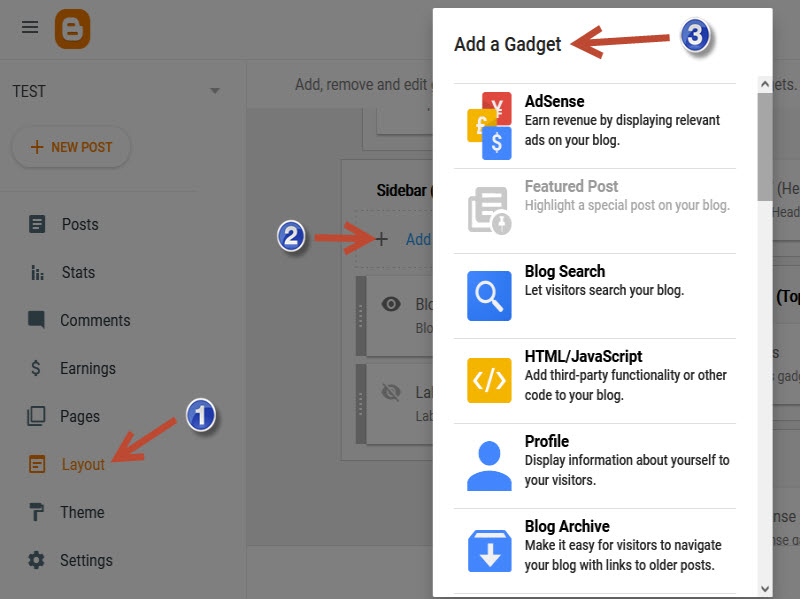
1. From the left menu list, select the Layout menu item.
2. Select Add a Gadget from the top or bottom of the sidebar.
3. Scroll down to see the available gadgets in the pop-up window. To add a new gadget to your blog, click the Gadget name or the Add icon.
4. When you click Save, the gadget will be put to the sidebar.
Step 8: Publish A Blog Post on Blogspot
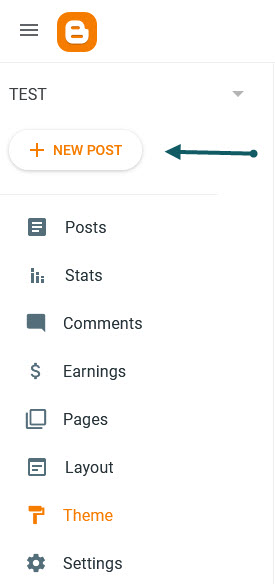
Click the New Post button to create a new post
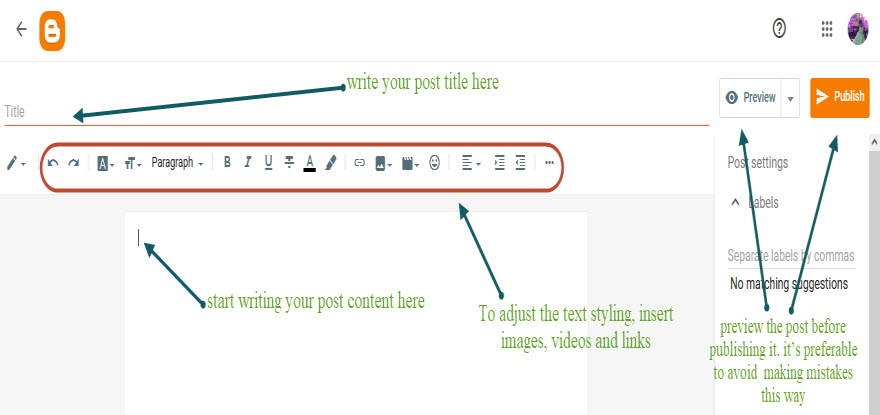
A post editor will appear on the screen.HTML and Compose views are available in the post editor. To access these settings, click the pencil icon on the composer toolbar. For novices, I prefer the compose view.
Now that you have access to Blogger's post editor, you can use the Title area to create a detailed title for your blog post.
Make it as simple as possible to read. Then, start composing and adapt the text styling using the section highlighted in the following example. In addition , you can preview the post before publishing it. it’s preferable to avoid making mistakes this way.
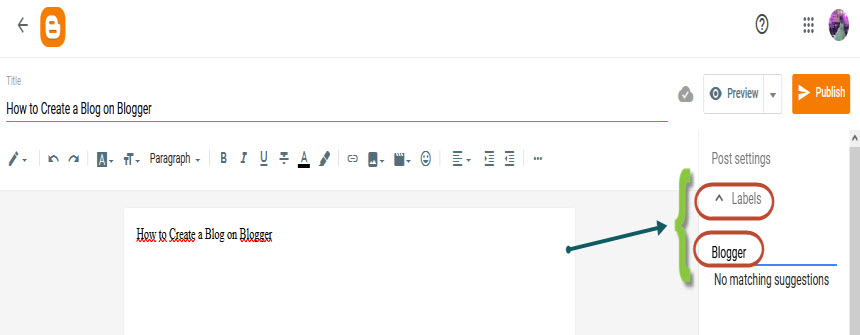
Labels can be added to your blog post.
Your post's label is another term for its category or tag.
On the blog post, these labels are visible.
When a reader clicks on a label, a page with all of the posts with that label appears.
You can use a label gadget in Blogger to add labels to your blog's sidebar.
It will make it easier for your readers to read all of the entries that have the same label.
1. From the Post settings on the right sidebar, you can add Labels.
2. Select Labels from the drop-down menu.
A box will appear where you may enter labels.
3. Add labels to the post that are relevant to it.
Edit a blog post's URL
1.You can change the permalink for your blog post.Under the Post settings, you'll find this option.
2. Select Permalink from the drop-down menu. There are two options: automatic and custom permalinks.
3. To keep your blog post URL brief and user-friendly, choose the custom
permalink option.


